

Are you looking for ways to implement WooCommerce migration?
Whether you are migrating from one WooCommerce store to another or a different CMS platform, in this article you learn:
- How to export data out of your WooCommerce website so that they can be imported to another website
- And how to import data into a WooCommerce store
The article will be WooCommerce-specific so it won’t cover the import of WooCommerce data into other CMS like Shopify, Magento, BigCommerce, or PrestaShop. We are only covering how to migrate WooCommerce to new site.
We will show you how to migrate posts, pages, products, orders, coupons, and customers (including users) with ease.
Without further ado, let’s dive into the tutorial.
WooCommerce Migration: Which Tool to Use?
WooCommerce has an inbuilt import-export tool but it comes with a lot of limitations. It
- Cannot migrate customers
- Cannot import orders
- Cannot migrate orders and products in .xlsx or Google Sheets formats
This is why many WooCommerce store owners prefer using third-party import-export plugins. And while there are many import-export plugins out there, not all plugins can migrate WooCommerce data as well as a dedicated WooCommerce migration tool.
This is where the WPSyncSheets For WooCommerce plugins come in.
We built this plugin specifically for WooCommerce migration.
It can import-export WooCommerce data like products, orders, customers, and coupons with ease.
For migrating posts and pages, however, you need the WPSyncSheets For Core plugin.
In the next section, we will show you how to use these plugins to WooCommerce migrate data in and out of our store.
IMPORTANT: But before we proceed, it’s worth mentioning that WPSynSheets For WooCommerce comes in two forms.
There’s WPSynSheets For WooCommerce Lite which is a free plugin and allows only the export of orders, products, customers, and coupons.
Then there’s WPSyncSheets For WooCommerce Pro – the paid plugin that allows you to import and export all those data and costs $59 annually for a single website license.
In the following tutorial, we are using the Pro plugin but you can still follow the steps because the Lite plugin operates in the same way. It’s just that you can’t import data into your WooCommerce store using the Lite plugin.
Import Export Orders, Products, Customers, & Coupons
1. Install & Activate WPSyncSheets For WooCommerce
To start importing WooCommerce data, you need to first install and activate the WPSyncSheets For WooCommerce in your store.
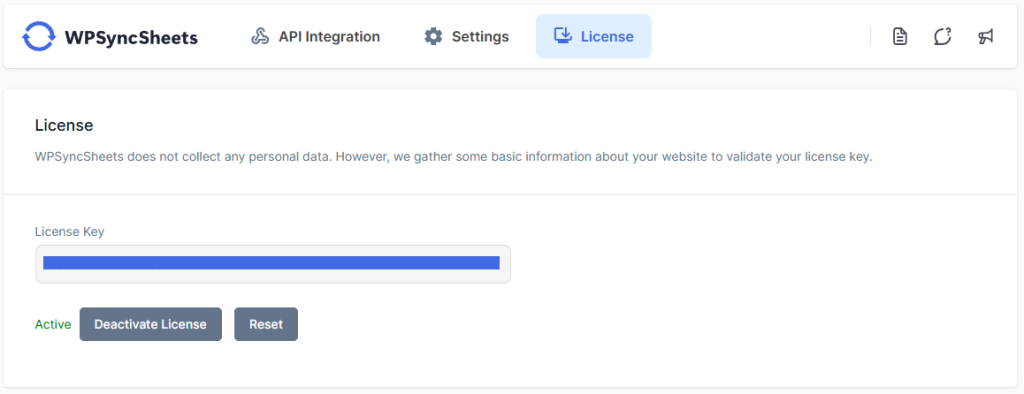
Next, Pro plugin users need to activate their license which can be done by opening your WordPress dashboard and going to WPSyncSheets → For WooCommerce → License.
You will find your license in your WPSyncSheets account or your welcome email. Just add them to the site to activate the license.
2. Connect Website With GDrive
After that, it’s time to connect your website with your GDrive. Your store data will be exported in Google Sheets which is why the connection has to be made. WPSyncSheets For WooCommece will help you make that connection.
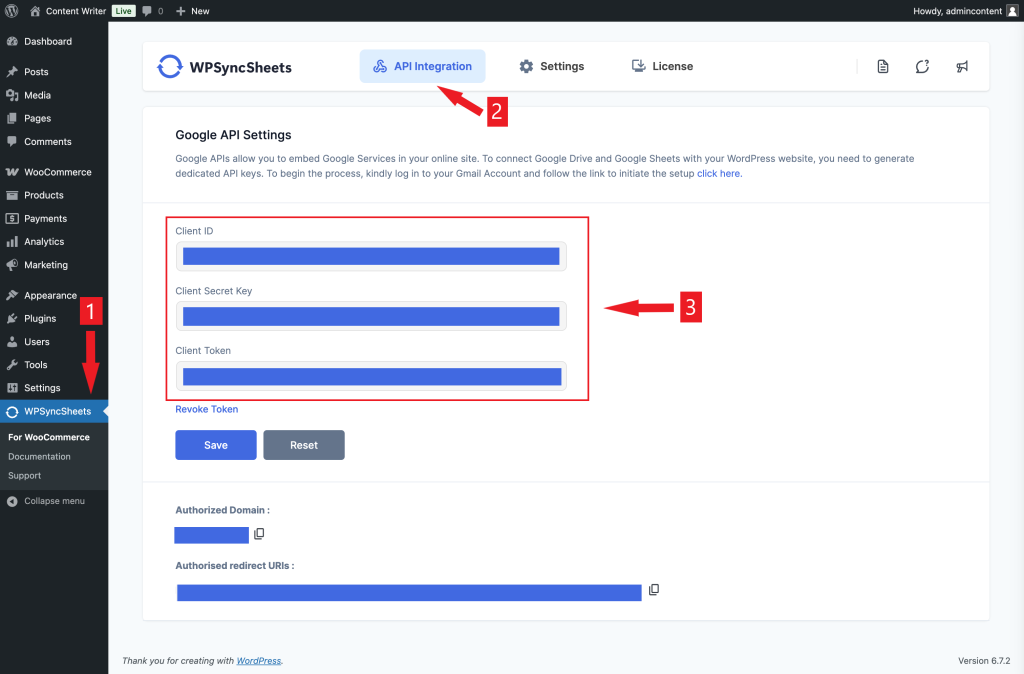
All you need to do is go to WPSyncSheets → For WooCommerce → API Integration. Then open your Google Cloud Platform (or create an account if you don’t have one already) and generate a Client ID, Client Secret Key, and Client Token.
Here’s a guide on the same: Google Sheets API Settings.
Add the Client ID, Secret Key, and Token to the API Integration page and hit the Save button.
Your store will be connected with your GDrive in a jiffy.
3. Export WooCommerce Orders to Google Sheets
We will first show you how to export orders from your WooCommerce store, and then in the next step, we will cover how to export products, customers, coupons, and events.
Go to WPSyncSheets → For WooCommerce → Settings → Order Settings and toggle on the Order Settings option.
As soon as you do that, the page will populate with many options.
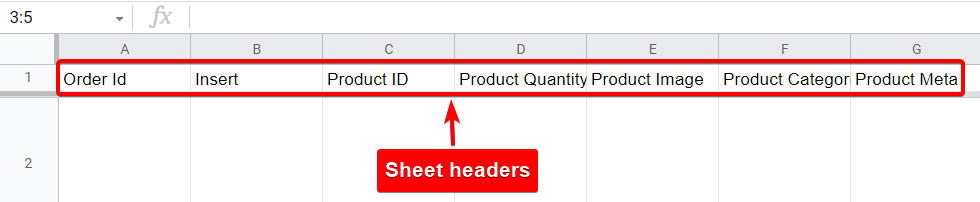
Scroll down to the Sheet Headers section. These are the headings to Google Sheets columns where you will export your WooCommerce orders.
In order to remove any of the headers just disable it from the Sheet Headers section and re-enable them if you need to in the future.
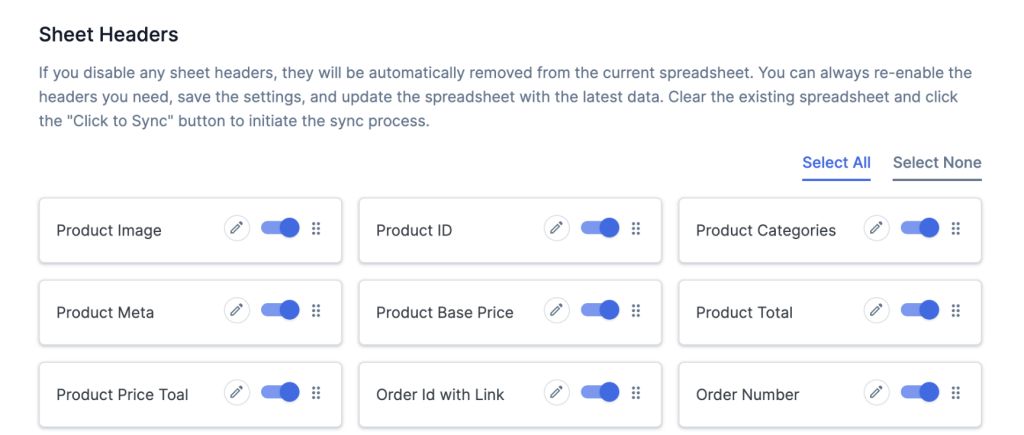
Here’s how the sheet headers will look on your Google Sheets:
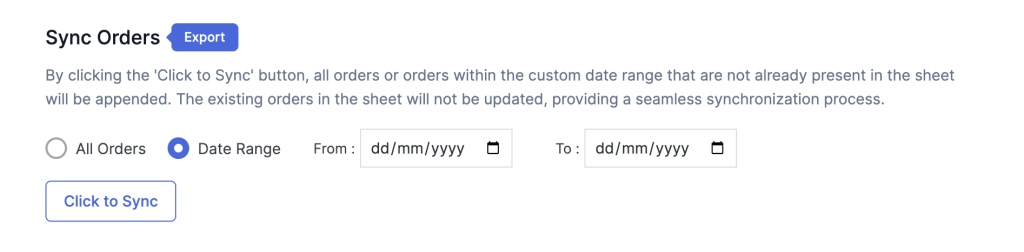
Next, scroll down to the Sync Orders section and choose the date range in case you want to export order data from within a certain timeframe. This is an option step. If you wish to export all orders, skip this step and move to the next one.
4. Review Miscellaneous Settings
We recommend taking a look at the other options on the Order Settings page and changing whatever needs modification.
For instance, in the Default Order Status as Sheets section, you can enable or disable sub-sheets within the Google Sheets where you will be exporting order data.
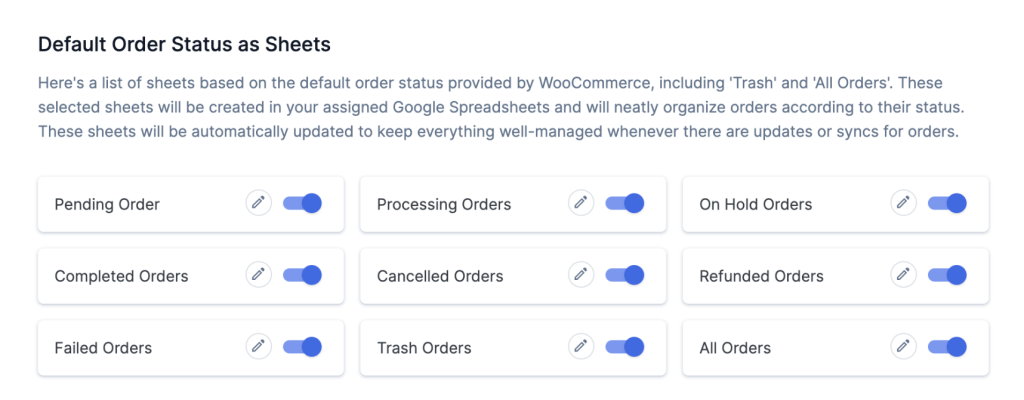
This is what we mean by sub-sheets:

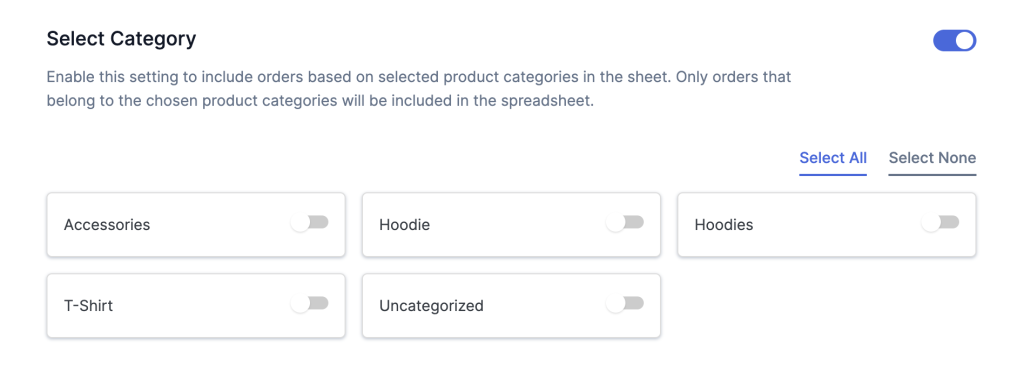
You can also look into the Select Category section which allows you to set categories from which orders will be exported. Orders from categories that are not selected will not be exported.
We recommend reviewing all the options before proceeding to the next step.
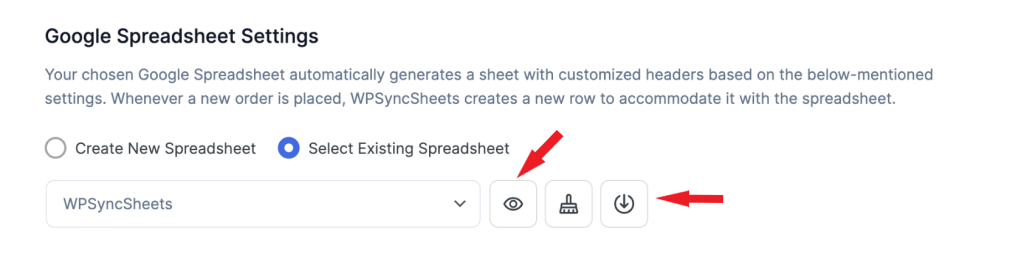
To export order data from your store to a Google Sheet, go to Google Spreadsheet Settings → Create New Spreadsheet, add a name to the sheet, and hit enter. A Google Sheet with that name will be generated.
Next, choose the Select Existing Spreadsheet option, select the Google Sheets that you generated, and hit the eye button to open the Google Sheets in a new tab or hit the download button to download the spreadsheet to your local computer.
If you need more assistance, please consult this article: Import Export WooCommerce Orders.
5. Export Products, Customers, & Coupons
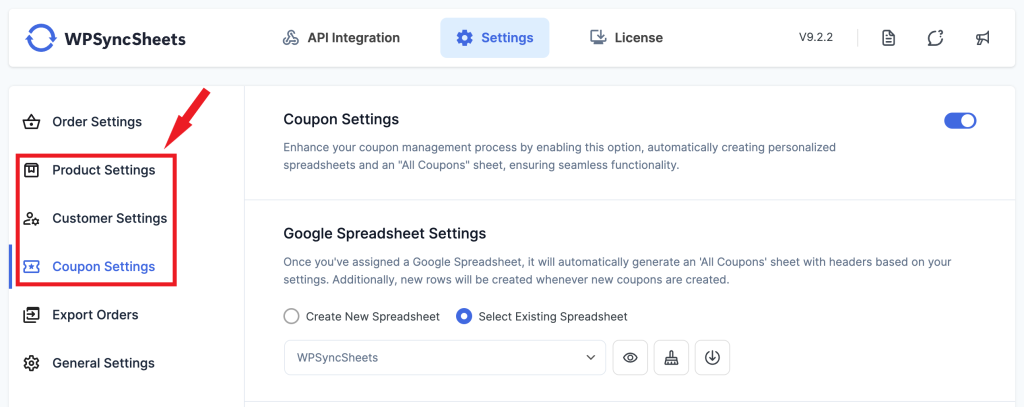
The steps for exporting products, customers, and coupons are almost identical to exporting orders. The only difference that instead of using the Order Settings page, you need to navigate to the Product Settings, Customer Settings, and Coupon Settings pages.
You will be generating a new Google Sheet for products, customers, and coupons.
For assistance, use the following guides and help docs:
- Import Export WooCommerce Products
- Migrate WooCommerce Customers
- WPSyncSheets For WooCommerce Help Doc
6. Import Orders, Products, Customers, & Coupons
By now you should have four different Google Sheets with exported data of orders, products, customers, and coupons. You will use these spreadsheets to import new orders, products, customers, and coupon data into your WooCommerce store.
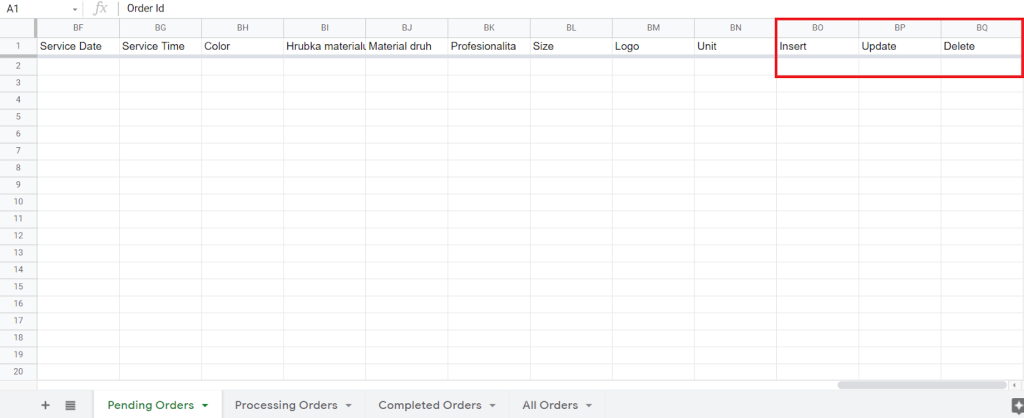
First, open the dedicated Settings pages for orders, products, customers, and coupons. Then scroll down to the Import section, enable it, and then enable the Insert, Update, and Delete options. Go to the Sync section and hit the Click to Sync button. This will add new columns to the four Google Sheets you generated with exported data.
You will use these columns to import new data into your store.
We have already covered how to import data in the following help docs:
Import Export Posts & Pages
The steps to import export posts and pages are identical to those covered in the previous section. We have written separate guides for posts and pages. Kindly follow them:
That’s it, folks! Now you know how to migrate WooCommerce to another site.
Conclusion
Migrating WooCommerce websites can feel like a daunting task but with the help of proper import-export plugins, it’s not as time-consuming nor as difficult.
While there are many import-export plugins out there not every plugin can handle the migration of the WooCommerce store.
We have a dedicated plugin called WPSyncSheets For WooCommerce that helps import export orders, products, customers, and coupons without breaking a sweat. You can migrate posts and pages, using the WPSyncSheets For Core plugin.
That’s it for this one folks! If you have any questions about WooCommerce migration, let us know in the comment section below.
Frequently Asked Questions (FAQs)
How to migrate from Shopify to WooCommerce?
To migrate data from Shopify to WooCommerce, you need to first export all your data (orders, products, coupons, customers, posts, and pages) out of your Shopify website. There are official guides on the export process. Next, import the data into WooCommerce using a third-party plugin (default import-export feature is limited) like WPSyncSheets For WooCommerce and WPSyncSheets For Core.
How to migrate users in WooCommerce?
To migrate users to WooCommerce you need a powerful third-party import-export plugin like WPSyncSheets For WooCommerce. Just install and activate the plugin, add your license key, go to the WPSyncSheets Customer Settings page, review the various options available and make modifications wherever you need to, enable the Import Customer options, then create a new Google Sheets in the Google Spreadsheet Settings section, and open the spreadsheet and add new users to the spreadsheet. Return to the Settings page and hit the Import Customer button to migrate users to the WooCommerce store. Here’s a guide: Migrate WooCommerce Customers.
How to export coupons from WooCommerce?
To export coupons from WooCommerce you need a powerful third-party import-export plugin like WPSyncSheets For WooCommerce. Just install and activate the plugin, add your license key, go to the WPSyncSheets Coupon Settings page, review the various options available and make modifications wherever you need to, then create a new Google Sheets in the Google Spreadsheet Settings section, and use the eye button to open the spreadsheet. You will see that in the spreadsheet, your store coupons are exported. Here’s a guide: How to Import Coupons.


